Yes, that was a long title, but bare with me here.
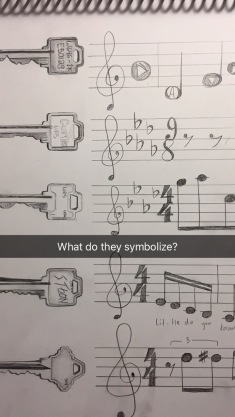
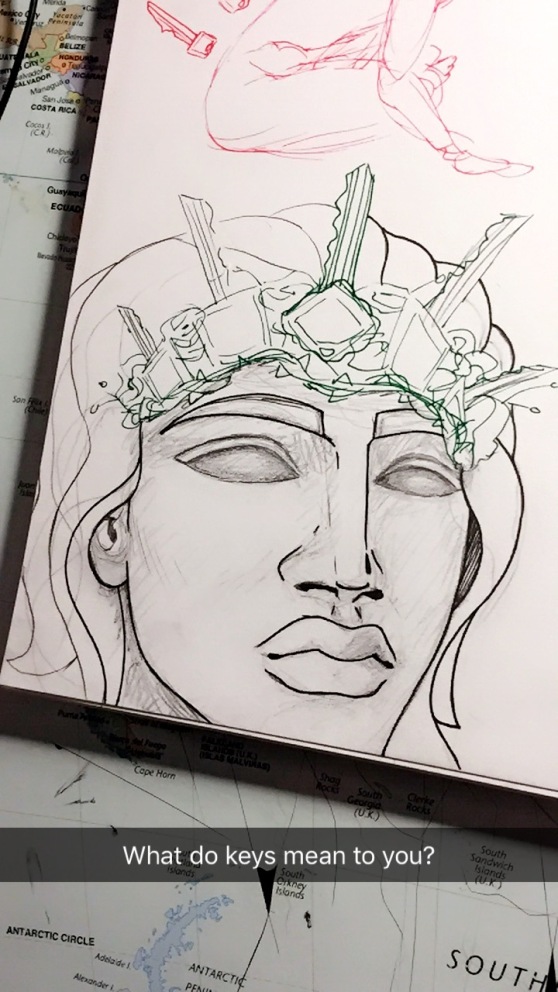
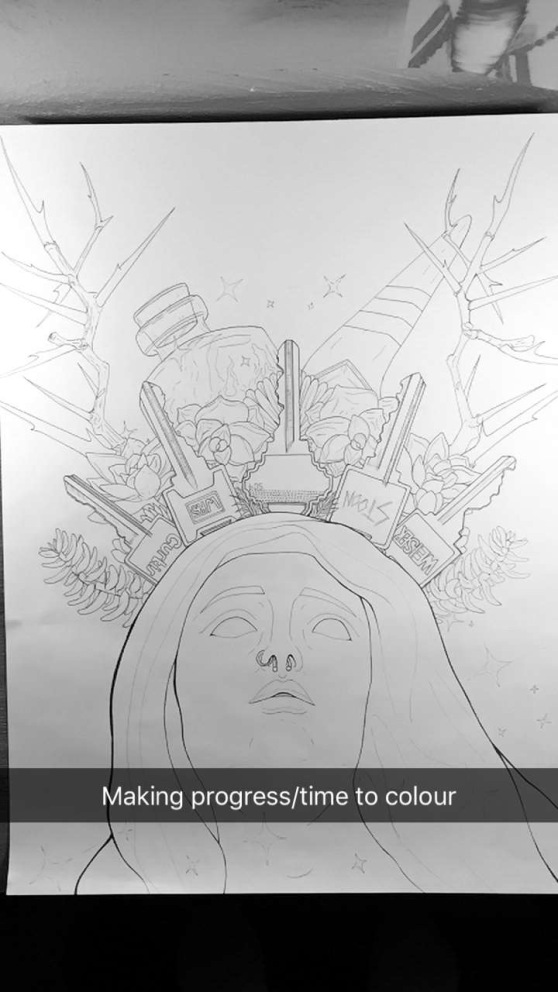
I chose to review Screencastify, as it is a tool that I have invested myself in for the purpose of my learning project this semester. I’ve already mentioned it in this post in which I used the tool to record my work on a digital drawing of mine.
Overview: Some basic information
It is a chrome extension that allows users to record everything that is happening on their screens at the time. It connects to your mic as well, so you can provide spoken instruction in conjunction with the recording. It has a free version available, but there are obvious limitations. On the download page it says, “The free Lite version limits recording time to 10 minutes per video, has a watermark, 50 videos per month, and has certain features turned off like mp4 export and editing tools.”
The paid-for version has no limitations. Personally, I think this tool is worth spending the $20-30 on, because I know it will be something that I plan on using extensively as both an educator and an artist.
Pros & Cons
Pros: This extension is really simple to use. It appears as an icon at the top-right of your browser and if you have the full version, it organizes and saves all of your videos and has them up for easy access through the chrome tab/extension. It is easy to edit the length of your video, crop it, save it, and share it, as the app provides all of these services at the click of a button. Another benefit is that the program allows you to annotate what is on your screen, giving you the benefit of underlining or highlighting specific items.
Story time! Here’s another example of how I used the app:
I had my friend record a presentation I did on my mom’s art, and the video was too big to email or send through Facebook messenger. I had her post it to her Facebook page with tight privacy settings so I was the only one who could view the post. Now, I wanted to save it so I could send it to my mom and for whatever reason I couldn’t get Facebook to let me download the video, so instead I just used screencastify to record the entire video. Now I have it saved to my google drive and I can send it to my mom, who can also download the video and actually view it. Neat!
Cons: If you don’t pay for the full app, its not really that great. Ten minutes recording time may be well enough for short little tutorials, but can really limit your opportunities in regards to what you want to share. Another con: The app claims to be “pixel perfect” but in my case I found that it really wasn’t as clear/focused as I was expecting it to be. There is a tiny chance that I am doing something wrong, but the app has such a simple interface that I’m fairly sure I’ve explored all possible solutions to my pixel problem. However, its not bad. Its just not excellent. There are definitely apps out there that could record a clearer picture, but there are not nearly as many screen-recording apps that make it so easy to use, crop, and share.
Why Teachers Need This Tool
You will be doing all of your students a huge favour by using this. If there is ever some kind of visual instruction that students miss due to illness, skipping, etc., you can record the same lesson without losing any of your presentation notes and the like, while making sure students who were not there that day still get all of the information.
Another benefit is that anyone can watch it. If you record yourself doing anything informative really, you never know who could benefit from your tutorial. It is worth it to upload your videos to YouTube, because chances are, another educator could use the video you’ve made.
Another benefit: Students can re-watch it as many times as they want. Some students can remember what the teacher said after the first time it was said, but most students need to hear it twice, or more. With screencastify, you can upload the video to YouTube, email it out, whatever works, and students can watch it repeatedly until they get the lesson at hand. This has many benefits for students of all levels and capabilities. This can be especially effective for students with auditory-learning disorders. Some students that you will encounter throughout your years will have real difficulties processing information that is heard. The information must be accompanied with notes or images for the student to look at later. With screencastify, they will get more than just notes or images. They get the best of both worlds combined, working together to create a solid learning tool that benefits nearly all students.
Another benefit: When differentiating your instruction in this way, it also does not single out any one student. Sometimes when differentiating our instruction, we struggle to find a way to do so in which the student is not singled out, embarrassed, or made to look like they are any “lesser” than students who may not necessarily depend on these extra resources. With this tool, teachers can make it mandatory to watch it once for homework (have you ever heard of a flipped classroom?) but it is up to the students if they need to watch it more than once. Another thing: their peers will have no idea who watched it multiple times to get it. It allows for privacy, in a way.
Another benefit: You can annotate your recordings in a way that highlights exactly what students or viewers should be focusing on. This allows for more precise tutorials, because it adds another layer/style of learning: text. If you annotate your videos, you are providing three different ways all at once for your students to process this information. They will be viewing, listening, and reading. And, hey! That’s three strands of the English curriculum! (See pages 28 and 32 of this ELA 9 Curriculum document to check out what I’m talking about.)
Overall Rating:
Supercalifragilisticexpialidocious, which is equivalent to, I think, 8 out of 10.
It’s pretty great, and I highly recommend that educators use this tool to benefit their students.
Thanks for reading!


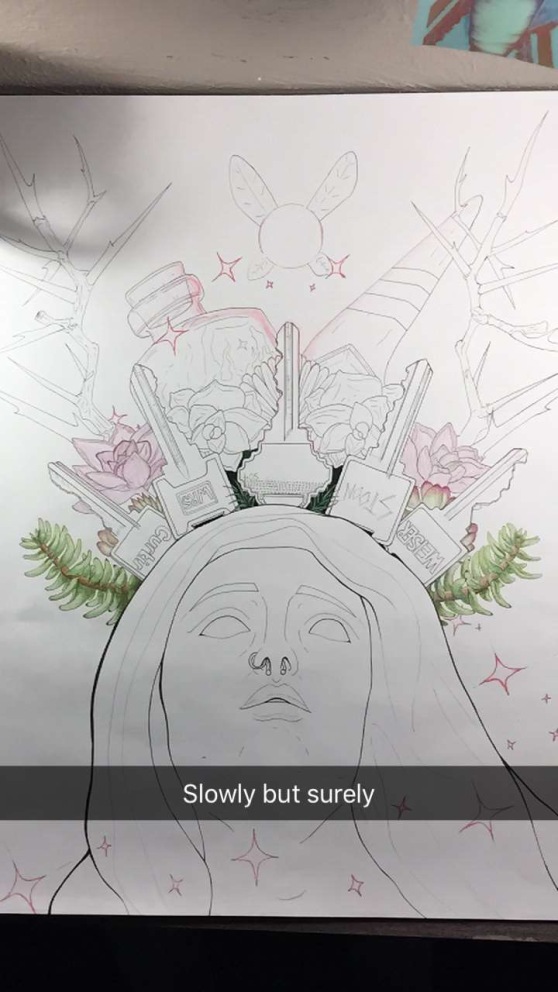
 Done on Photoshop CS6 with a Wacom Bamboo Tablet!